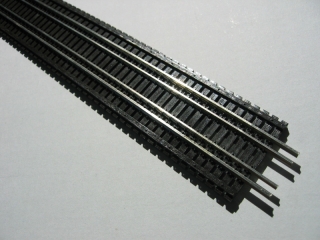
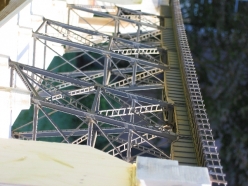
I chose Walthers Code 83 bridge track for my bridge. This product has nice detail and molded in guard rails in code 70. The track comes in 16″ pieces and includes filler ties for joining multiple segments and guard rail closure pieces. Also provided in the kit are short pieces of regular track with guard rail closures.
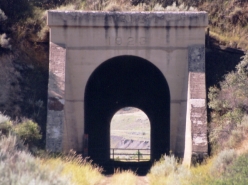
The limited photos I have of the real Coal Banks trestle shows walkways and railing. The only problem with the Walthers bridge track is that is does not include any provision for a walkway. The solution was to kit bash, of sorts, and add the deck.
Do A Little Jig on the Walkway
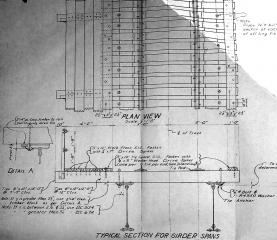
I determined the dimensions of the walkway and railings by scaling from the photo here which nicely contains a 4 ft 8 1/2 inch dimension. I since obtained a copy of a GN standard drawing and it turns out the photo scaling method work pretty good.
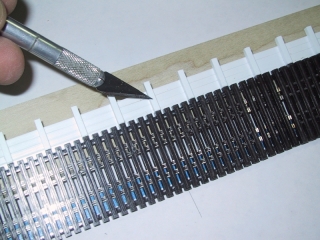
To provide support for the walkway, the bridge ties must be extended by about 4 scale feet. I selected .1″ x .1″ strip styrene for the job. This material is a couple of thousandths smaller than the bridge ties themselves. This presented a problem in getting the extensions to align flush with the top of the original ties. I tried hand positioning the extensions one at a time but achieving the proper alignment unsatisfactory. It became clear to achieve good alignment, I was going to need to built the walkway as a single assembly.
In my attempts to glue tie extensions individually, I also discovered how difficult it was going to be getting styrene to stick to what is a vinyl like plastic on the Walthers track. I tried various glue products to get my little pieces of styrene to stick to the track ties. ACC cements and good old Goo but still no luck. After a little research I discovered Locktite 401 ACC cement for difficult surfaces. This is an industrial product so don’t look for it at the local Home Depot. I had to order mine from Granger’s. The Locktite 401 worked fantastic. On my tests pieces it took quite a sharp crack to get the bond to break.
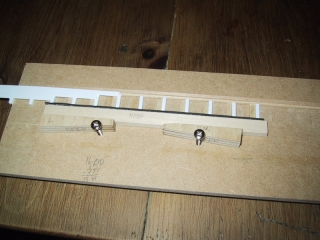
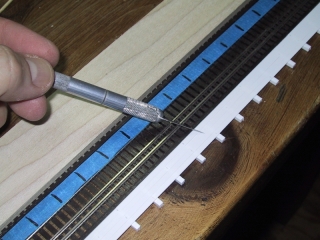
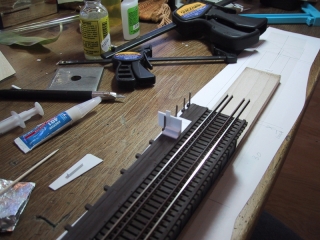
The next challenge was the alignment problem and how to build the walkway as a single assembly. I once again turned to the use of jig to solve a tricky assembly problem. My jig, lined up a number of extensions, and then allowed the gluing of the decking strips to keep it all aligned. The attachment to the bridge track was via both the end of the extensions and the first decking plank, slightly overlapping the track timbers. This provided proper vertical alignment and more surface area for the glue to bond.
The jig was constructed from basswood and a small piece of hardboard. The trickiest part was to get the spacing correct on the spacers. The bar with the foam strip was used as to hold the extension pieces in place. The small triangular wedges were used to apply pressure and hold it all together while the walkway planks were glued. The walkway planks were made from styrene strips cut to no longer than 12 foot lengths.
As assembly of the walkway is completed for one section, the wedges are removed and the whole walkway is shifted in the jig. New extensions are placed and more walkway planks are glued. I repeated this operation until the walkway was as long as needed for the whole bridge as a single assembly.
To attach the walkway to the track, I set the track against a straight edge. I then applied the Loctite 401 to the edge of the track and carefully set the walkway in place. There is little or no opportunity to move the part once contacted so be careful.
<This top view of the walkway assembly and the straight edge used on the opposite side of the track to make sure it is straight as possible.>
Walkway Finishing
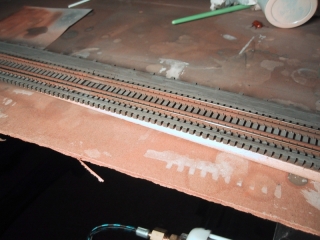
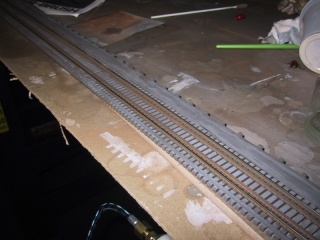
Painting the rails and ties greatly improves the appearance of the Walthers track. I used Floquil roof brown on the ties and walkway and rust and grime on the rails. I then washed with a very watered down acrylic white to bring out the detail. Using a swab I removed paint from the top of the outside rails. Leave the guardrail painted.
Attach Spans to Track
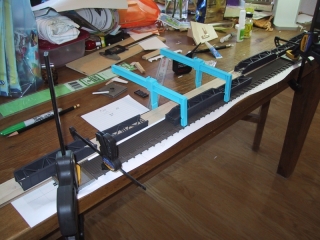
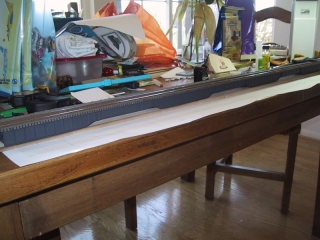
Then next step is to attach the spans to the track. It is necessary to invert the track to align and attach the spans and this is much simpler if done before attaching the railings. I clamped the inverted track to a straight edge to remove any warbles. Before gluing I laid out all of the spans to make sure of the positioning. Then, one by one, I used the Loctite 401 cement to attach each span. I used a piece of plastic strip to keep a consistent offset from the edge of the ties and this helped assure the assembly stayed straight.
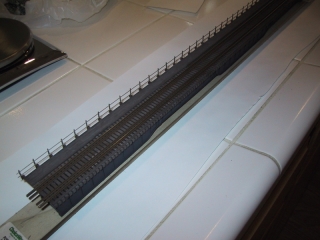
Here is the finished assembly of all of the spans attached to the track. How many wives would let you do this to the kitchen table? “Honey, I think we should eat out tonight!”
Walkway Railings
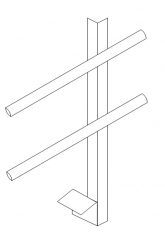
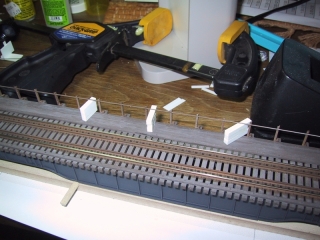
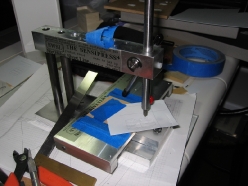
The railings were scratch built from styrene angle shapes and piano wire. Gluing these two pieces and attaching the post to the track ties requires some tricky alignment, and it needs to be repeated dozens of times. Some more jigs to the rescue! I used a Northwest Shortline Chopper to assist in cutting the pieces with repeatable precision.
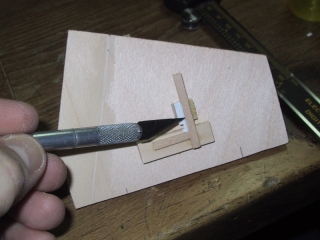
The railing posts are an assembly of a short scale 12″ piece of angle and a scale 40″ piece forming the post. A jig is used to align the two angle pieces to each other. The jig was built at a angle to allow gravity to assist in holding the pieces in place. I built up a few extra pieces anticipating some losses which turned out to be a very good thing. Despite the assistance jigs provide, it is always very difficult going back and repeating an operation.
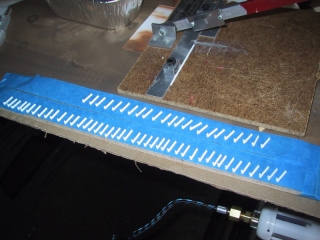
The rail posts were painted silver and a dusting of rust. I used a strip of tape to hold the railings while airbrushing.
Another jig was built from styrene to help align the railing post to the bridge ties. The Loctite 401 ACC was employed here again to get the best bond possible from these tiny parts.
The raw piano wire and the assembled posts must be painted before attaching to the decking. I painted the parts with silver to simulate galvanized finished and then dusted them with rust.
Styrene blocks were constructed to support the gluing of piano wire at the proper heights. Make sure to glue to the top railing first. Tiny amounts for the Loctite 401 provided a bond sufficiently strong.
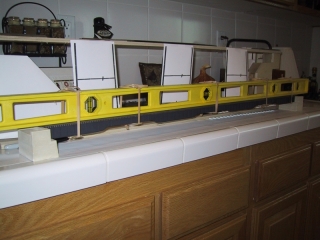
The finished span and decking is very delicate. To protect the assembly and hold it accurately in position for later fitting if the towers, I purchased a cheap plastic level. I bound the level to the decking by tying rubber bands. This technique kept the spans and railings as one whole assembly and relatively easy to handle despite its size.
Coal Banks Bridge Project
This is the sixth in a series on my model of the Coal Banks trestle. Below is a listing of all the installments:
- Coal Banks Trestle: Decks & Railings (January 4, 2010)
- Coal Banks Trestle: Girder Spans (January 3, 2010)
- Coal Banks Trestle: Benchwork (January 3, 2010)
- Coal Banks Trestle: GN Design Practices (December 26, 2009)
- Coal Banks Trestle: Introduction (December 25, 2009)
Next: Tower Construction
